Before you begin…
Install Microsoft .NET Framework v4.8
Multiple versions of .NET can safely be installed on the same machine.
If you are upgrading a large number of Emergency-Pro 4.x machines you can safely install .NET 4.8 ahead of time.
All Installations…
Open your web browser and go to http(s)://SERVER/EmergencyPro, e.g.: http://demo.emergency-pro.com/EmergencyPro
Click the Download Emergency-Pro button and save the emergencypro.msi file.
Double-Click emergencypro.msi.
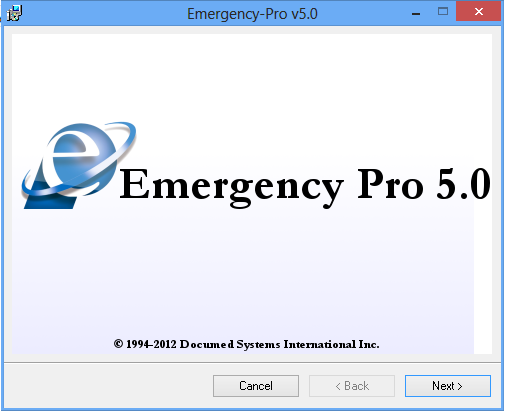
Click Next
Click I Agree, then click Next.
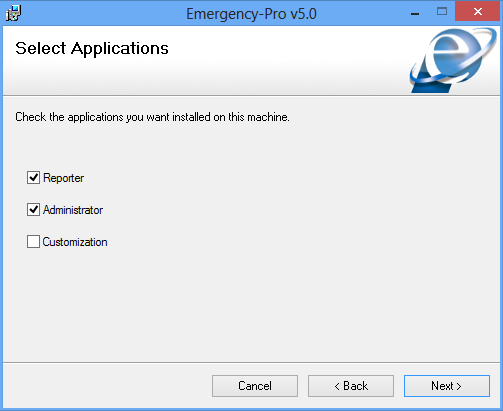
Check the applications you wish to install and click Next.
Select the folder to install and click Next.
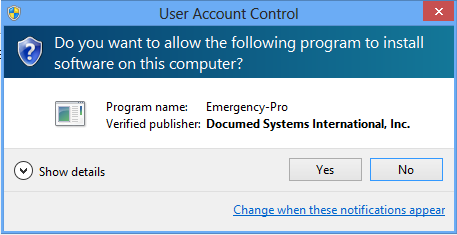
When prompted by User Account Control, ensure the Program name is Emergency-Pro and the Verified publisher is Documed Systems International, Inc. If so, click Yes.
Click Close.
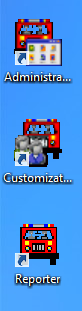
Depending on which applications you installed you should see one or all of the following icons on your desktop. To get started double-click on one of the installed applications.
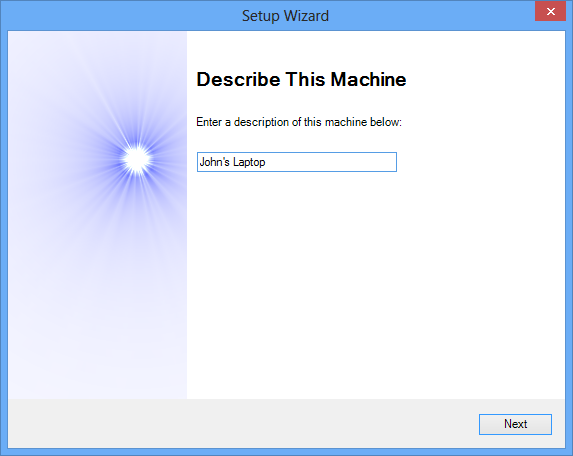
When you first run the program you will be presented with the Setup Wizard welcome screen, click Next.
Enter a description of your machine (e.g. John’s Laptop) and click Next.
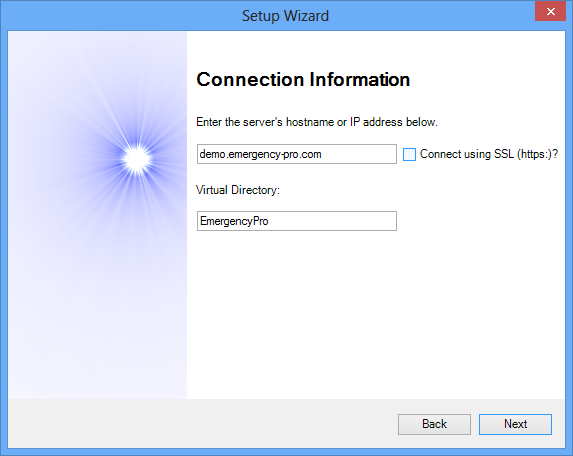
Enter your server name (e.g. www.example.com), virtual directory (the default is EmergencyPro, make sure to change this if you are hosted) and optionally check the Connect using SSL (https)? checkbox. If you are hosted, checking this box is required. Click Next.
If prompted, enter your product key (which is most likely abc123), click OK.
Wait for the configuration test to complete and click Finish. You can now start using the program!
If the configuration test fails, you will be presented with two buttons. The Error Info button will show you the error that caused the configuration test to fail. This may be a bit cryptic, but could indicate what the nature of the connection problem. The Test in Browser button opens the server’s page in a browser (this is the same page as in step #1). If this works and no errors are shown on the web page, then the connection information is correct and the connection should work, you may just need to click Back and try again. If the web page is not shown, you likely have entered your client connection information incorrectly, click Back and correct the information and try again. If your connection information is correct and the web page is not shown, you either have a networking issue or the server is down or misconfigured. If you are presented with a message indicating you are out of licenses then you will either need to disable workstations in customization on another machine or you will need to contact Documed Systems about obtaining additional licenses.


Automated Deployments…
- There are flags that control which applications are installed (Administrator, Customization and/or Reporter).Reporter: CB_REPORTER=1Administrator: CB_ADMIN=1Customization CB_CUSTOM=1To silently install with customization you can run the following command:msiexec.exe /q /i emergencypro.msi CB_CUSTOM=1